
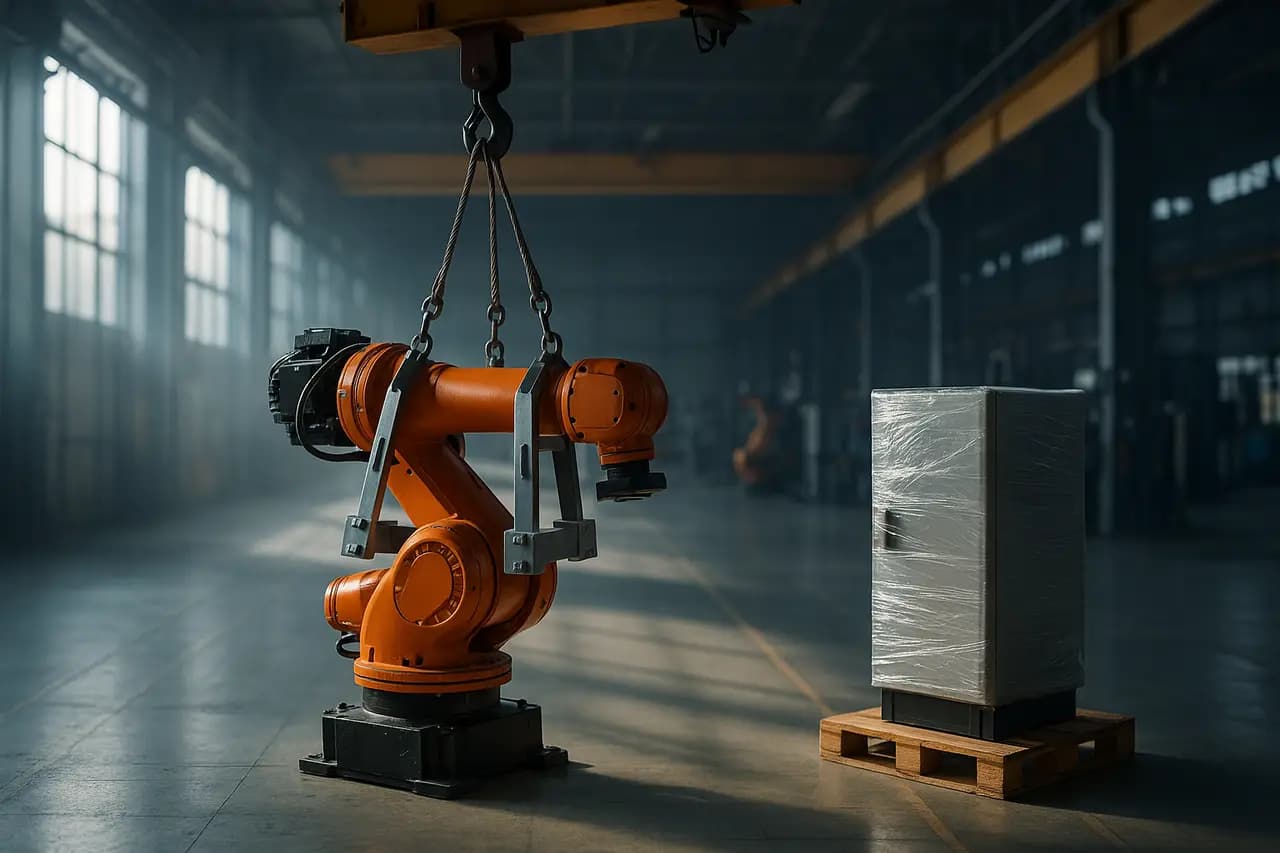
Relocating Industrial Robots: Backup, Move & Remastering
Ernest Parfentiev · Founder & Managing Director, NM SOLUTIONS
Industrial robots are among the most sensitive assets in any relocation project. A six-axis arm looks robust, but its repeatability depends on precisely calibrated encoders, mechanical zero positions, and a controller full of program data. Move it carelessly and you may arrive with a robot that runs — but no longer hits its points within tolerance. This guide walks through what actually matters when relocating articulated robots and their cells, from the first backup to the final production-part validation.
Start With Data: Nothing Moves Before a Backup
The single most common cause of painful robot restarts is missing data. Mechanical damage can be repaired; a lost program library can cost weeks of reprogramming.
Before touching a single bolt, capture a complete image of the controller and store it in at least two locations.
- Full controller backup / image: programs, I/O configuration, tool and user frames, payload data, safety configuration, and PLC interfaces.
- Mastering / zeroing values: record the current calibration counts for every axis. These are your reference if encoders lose position.
- Safety configuration: safe zones, speed limits, and safety-rated I/O are often locked and require documented restoration.
- Network and fieldbus setup: IP addresses, PROFINET/EtherCAT node numbers, and gateway settings.
- Robot logs and error history: useful for spotting pre-existing faults so they are not blamed on the move.
Export backups in the manufacturer's native format and, where possible, print or PDF the key parameter screens. Label each backup with the exact robot serial number — never assume two identical arms carry identical data.
Document the Cell Before Disassembly
A robot rarely moves alone. It arrives as part of a cell: fencing, safety scanners, an end-of-arm tool (EOAT), cable dress-out, a controller cabinet, and often a positioner or track.
Photograph and label everything before disconnecting:
- Cable routing and connector positions (color-code or tag every plug).
- EOAT mounting orientation and any shim packs.
- Baseplate position relative to fixtures and the layout grid.
- Pneumatic and hydraulic lines, including regulator settings.
Mark the robot base footprint on the floor before removal. Re-establishing the same relationship between robot and workpiece at the destination is far easier when you know the original geometry.
Safe Mechanical Preparation
With energy isolated and the arm de-energized, prepare the robot for transport in a way that protects both the gearboxes and the calibration.
Bring the arm to a transport pose
Most manufacturers specify a shipping or transport posture — a folded position that lowers the center of gravity and minimizes leverage on the joints. Move to this pose under controlled, slow motion while the robot is still powered, then power down.
Fit transport locks and braces
Use the original transport brackets if available. These lock the axes and prevent the arm from swinging during handling. If brackets are missing, fabricate rigid braces — never rely on the internal brakes alone to hold the arm during a truck journey. Repeated shocks on braked joints can damage gear teeth.
Remove or secure the EOAT
Heavy grippers, weld guns, and dispensing heads should generally be removed and packed separately. This reduces load on wrist axes and prevents collision damage to delicate tooling.
Rigging, Handling and Transport
Articulated robots have an awkward, top-heavy geometry. Lift only from the manufacturer-designated points — usually eyebolts on the base casting or a specified fork channel.
- Use a certified lift plan for anything above safe manual handling limits.
- Keep the arm in its locked transport pose during every lift.
- Isolate the robot from shock with anti-vibration pallets or air-ride transport; precision gearboxes dislike repeated impact.
- Pack the controller cabinet upright, secured against tipping, with drives and boards protected against condensation.
Monitor sensitive units with shock and tilt indicators. A tripped indicator on arrival tells you exactly where to inspect first.
At the Destination: Reinstall and Reconnect
Set the robot base on a level, adequately rigid foundation. Robot repeatability assumes a stable base; a floor that flexes under the reaction forces of high-speed motion will never deliver consistent points.
- Anchor the base per the manufacturer torque spec and verify base flatness.
- Reconnect cabling using your labels and photos; confirm grounding and shield continuity.
- Refit the EOAT in its recorded orientation, replacing any shims exactly.
- Restore the controller from the verified backup and reload the safety configuration.
Remove transport locks only after power is restored and brakes are confirmed active — otherwise the arm may drop when the braces come off.
Remastering: Restoring the Robot's Zero
Remastering (also called zeroing, homing, or calibration) tells the robot where each axis truly is. If encoders held their position throughout the move, restoring the recorded mastering values may be enough — verify with a check position afterwards.
If any axis lost its reference, or you disassembled a joint, you must remaster mechanically:
- Use the manufacturer's mastering method — dial gauge, calibration pins, or an electronic mastering tool at the reference notches.
- Master axes in the recommended sequence.
- After mastering, drive the robot to a known check pose and confirm the physical alignment marks line up.
Skipping this step is the classic reason a relocated robot "runs fine" in jog mode but produces scrap in automatic mode.
Recalibrate Tool and Frames
Even with the arm mastered, the relationship between the robot and its environment has changed. Re-teach or re-measure:
- Tool Center Point (TCP): re-verify the TCP after refitting the EOAT.
- User / work frames: fixtures and workpieces sit in a new position relative to the base.
- Track or positioner calibration: if the robot rides a linear axis or serves a turntable, recalibrate the coupled kinematics.
For cells relying on absolute programmed points rather than sensor-guided motion, a full frame re-teach is often faster and more reliable than trying to shim the layout back to millimeter-perfect.
Validate Before Full Production
Treat robot restart like any commissioning: prove it before you trust it.
- Dry-run every program at reduced speed with the cell empty.
- Check safety functions: e-stops, light curtains, safe zones, and safe speeds.
- Ramp to full speed and confirm cycle time and repeatability.
- Run first-off parts and inspect against quality specifications.
- Record accepted parameters as the new baseline backup.
Where Expert Support Pays Off
Robot relocation blends mechanical rigging, controls engineering, and metrology. The costliest mistakes — lost data, damaged gearboxes, an un-mastered arm producing scrap — are all avoidable with disciplined preparation. A relocation partner that handles dismantling, transport, reinstallation, remastering, and acceptance testing as one continuous scope removes the handover gaps where robots typically get broken. Done properly, a relocated robot returns to its original accuracy and cycle time, ready to earn its keep from the first production shift.
Related
Ernest Parfentiev
Founder & Managing Director, NM SOLUTIONS
NM Solutions specializes in the dismantling, relocation, installation and commissioning of industrial equipment and production lines across Europe — with hands-on project experience in metallurgy, food, packaging and building-materials plants.